
Category: Men’s hairstyles
-

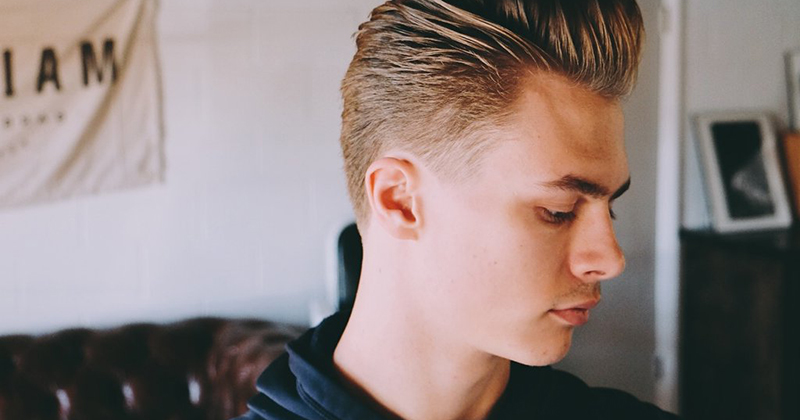
How to Style Your Hair Like a Barber Would
how to style your hair like a barber would? You just got a great haircut, it looks perfect, and it’s laying down in all of the right places. Then, the next day, after a shower, it looks a little less than perfect. You’re using the product you bought at the barbershop and you’re trying to…
-
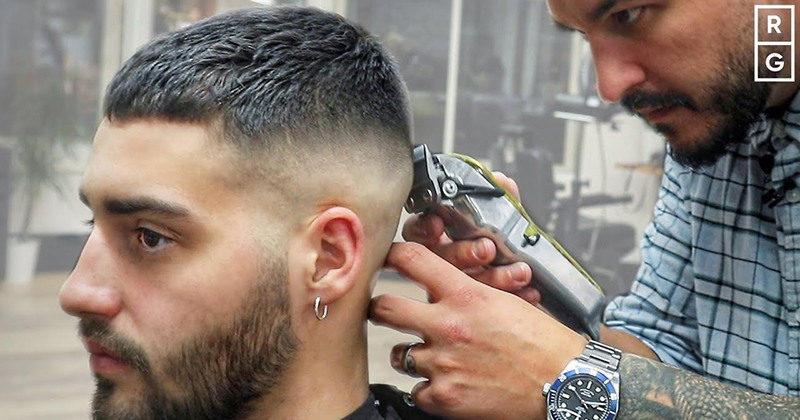
The Crop Haircut For Men
The crop is a hairstyle that has been popular in Europe for a long time. It’s slowly starting to trickle over into the states. It has tons of variations but is mainly characterized by the blunt, short fringe in the front and short, textured hair throughout the top that drops to a skin fade on…
-
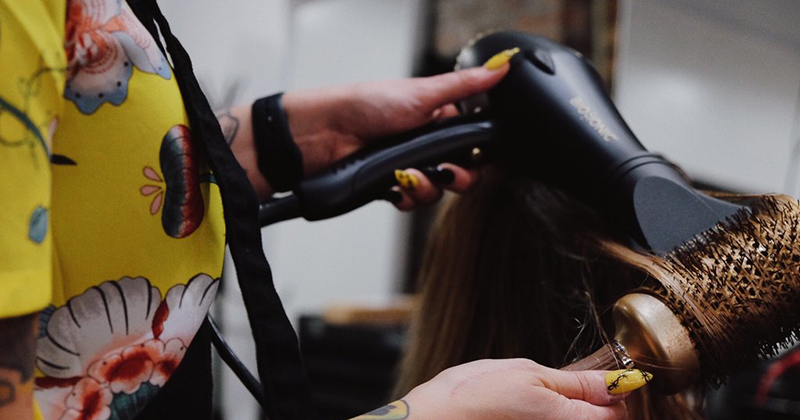
3 Blowout Techniques You Need To Know
Did you know there’s more than one type of blowout? We use three main types in the salon every week, but before we get into those, let’s talk products for a second. Many people bypass this crucial step and it’s so very important to get a smooth, fly away free blowout. Always use a style…
-
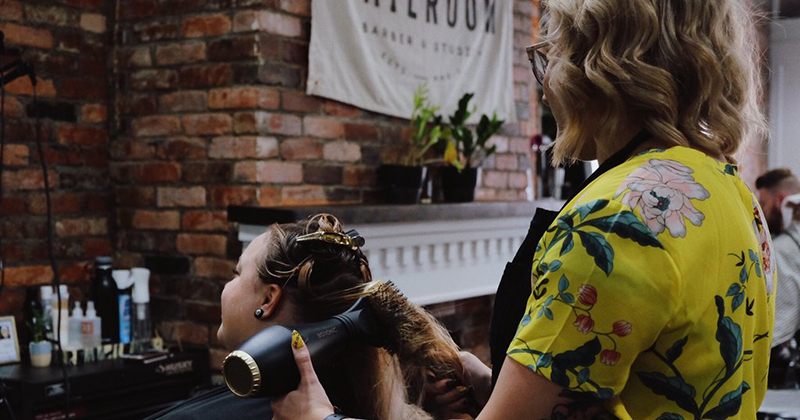
Blown Dry Vs. Hot Tools – Reducing Heat Damage
Have you ever left the studio and loved how your hair felt after it’s blown dry into a style, or wondered why it feels so great compared to when you style your own hair? In this series of blow drying “how to blown dry” blogs. We’re going to cover all of the information you need…
-

Blow Dryer’s Guide To Brushes
Do you ever leave the salon wondering how to recreate that perfect blowout you just received? The key is using the proper tools for your hair type and desired style. Let’s touch on a few basics blow dryer’s guide : Here are three ways to teach you how to dry your hair correctly and keep…
-
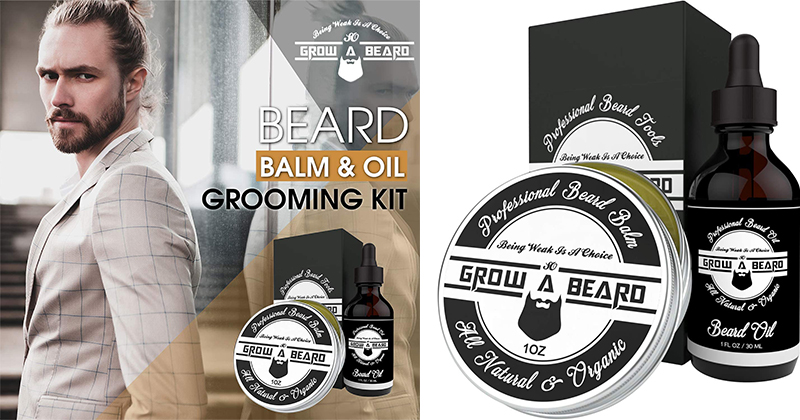
How To Use Beard Oil And Balm And Difference
A common question we hear in the Barbershop is “what’s the difference between beard oil and beard balm and how do I use them?” Whether you have a five o’clock shadow or a beard down to your waist, it’s important to know the best way to care for your beard. In this blog, I’m going…
-

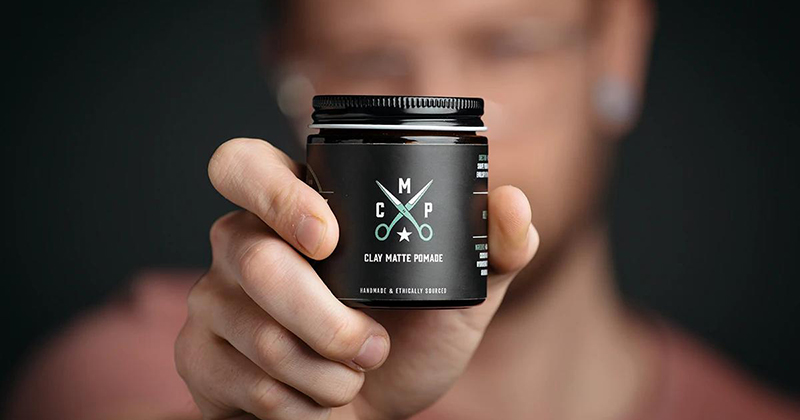
How To Use a Matte Clay Pomade
When used correctly, this Matte Clay Pomade will be the most versatile pomade in your arsenal. It’s easy to scoop & apply, helps you maintain volume & texture, and keeps your hair soft and healthy unlike store bough pastes and clays that dry out and damage your hair By the end of this tutorial, you will be…
-
How To Ask Barber For You Want Haircut
Many times, I hear people say they have no idea how to ask for the haircut they want, mainly because they don’t want to say the wrong thing and get a crummy haircut just because what they saw on Instagram as a “side-part undercut skin-fade” may be totally different from what I or another barber…
-
How To Use Pomade
We’ve all been in front of a mirror, frustrated, mad, going through tons of pomade because it just isn’t working and we can’t tame that dang cowlick or get the volume we want or whatever our unruly hair is deciding to throw at us. Thankfully, the solution is pretty simple. Follow these five steps and you’ll…
-
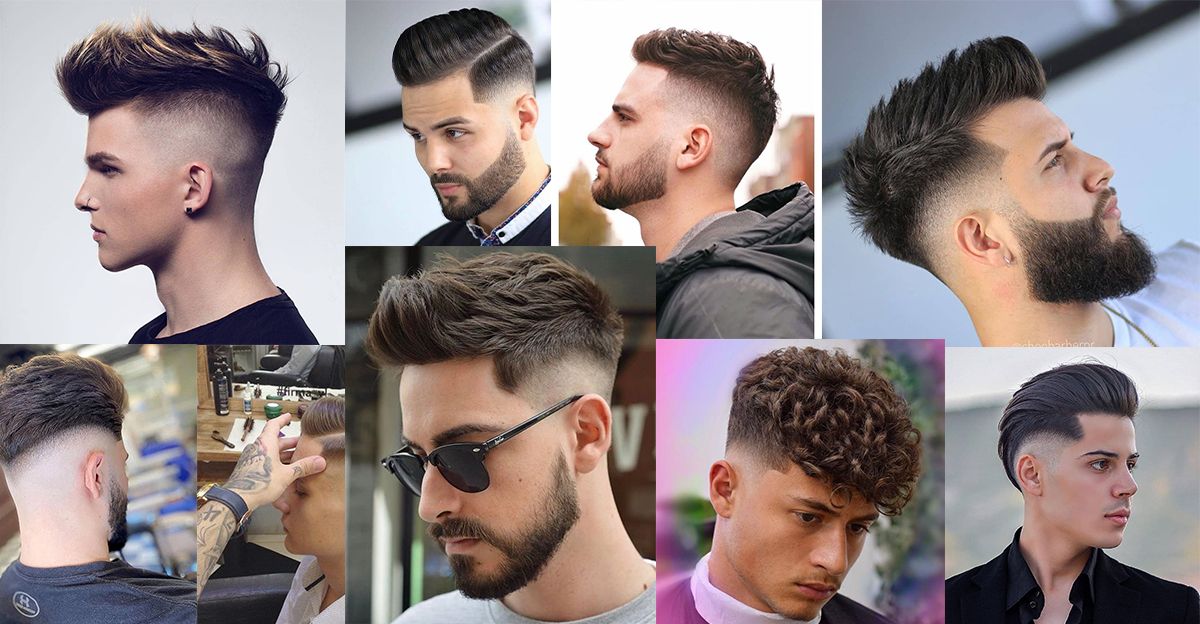
49+ Best Men’s Fade Haircuts In 2022
Fade haircut is definitely in style for men today. It’s fairly easy to maintain, and tends to look pretty good. The end of the fade is typically going to be 0, which is skin. So you may start with like a 2, then move to like a 1.5, then a 1, and a 0.5. This…

