Categories
Lifestyle Tips & Tricks

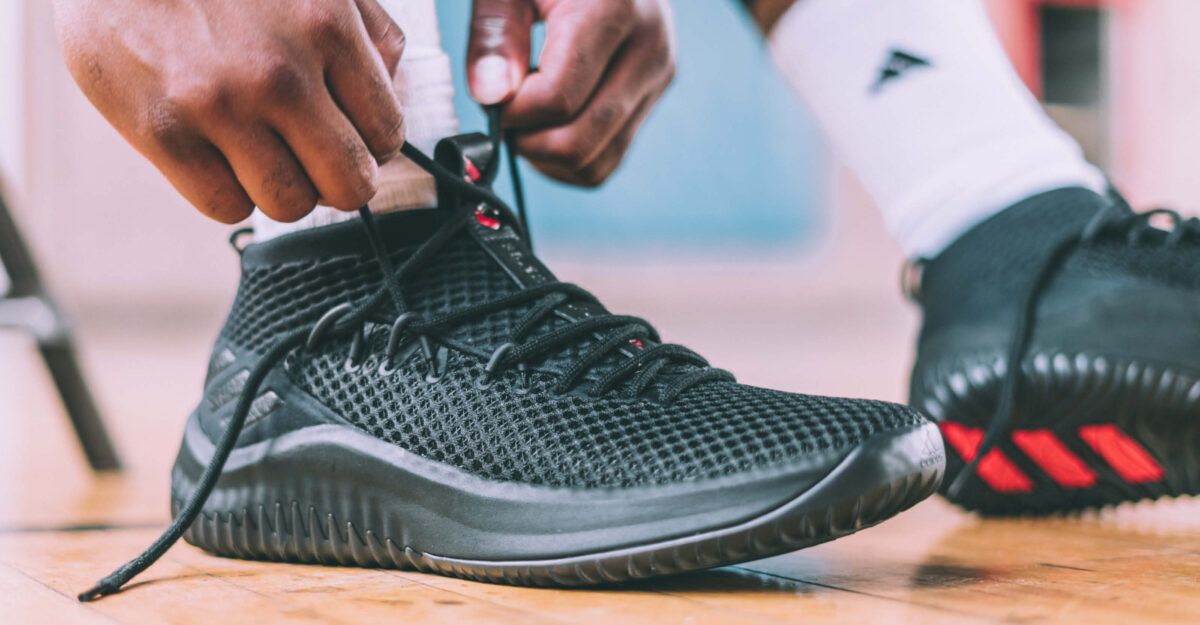
How To Lace Basketball Shoes

Knowing how to lace basketball shoes specific to your arch can be a game-changer in dominating the court. It’s a final check to know your style is on point starting from your feet up, and to ensure you’ve got head-to-toe handles like a certain point-god whose uncanny control and otherworldly movement calls for locked down lacing.

From left over right to right over left, to different tensions and various ties, laces let you curate your fit and control your style, giving you James Harden-esque possession of your own unconventional creativity. Wear them tight for more control or loose for more comfort and less constriction on high arches – it comes down to your style, your feet and what works best for you.

LACE BASKETBALL INSTRUCTIONS

When you’re learning how to do it, follow these steps:

CRISSCROSS LACING FOR HIGH ARCHES

Basketball is lightning fast with players racing up and down the court at breakneck speeds before stopping and cutting on a dime. These quick stop-and-start movements can place an excessive amount of strain on feet with high arches, leading to severe pain and instability. Make sure you’ve got the support you need when you’re hitting the hardwoods with this high-arch lacing style.

Step #1
Start by threading the lace through the bottom eyelets until there is an equal amount on either side of the shoe.

Step #2
Thread your left lace through the right eyelet and right lace through the left eyelet, creating a crisscross “X” pattern. Continue this pattern for the next two eyelets.

Step #3
At the center of the shoe, skip two or three eyelets.(whichever is needed to remove pressure on the top of your arch and offers the most comfort). Then return to the crisscross “X” pattern of lacing at the fourth. and or fifth eyelet and continue until you reach the top.

Step #4
To ease pressure on the bridge of your foot, tie and tuck the laces behind the tongue.

CRISSCROSS LACING FOR LOW ARCHES

Having low arches or flat feet can be an advantage on the court or a burden. On one side, they’re more flexible and lower to the ground allowing quicker cuts and freer movement. On the other side, the impact from every rebound, layup and jump builds up over time causing sore feet, strained arches and heel pain. But with this lacing style, your heel will be locked down, so you can stay in the game.

Step #1
Start by stringing the shoelace through the first eyelets until you’ve got an equal amount of lace on each side.

Step #2
Thread the left and right laces back and forth in a familiar crisscrossing “X” pattern all the way up the shoe until the last two eyelets.

Step #3
Next, take each lace up to the final eyelet directly above – instead of crossing. Once you’ve threaded these last two eyelets, leave a loop and don’t pull tight.

Step #4
Finally, cross the laces once more by threading the left lace through the right loop and the right lace through the left. Pull tight and tie in a double knot (this results in a tighter feel and a locked heel). Tuck in the bow or keep it short to prevent tripping.

You May Also Like: